Red Velvet Cookies
Introduction
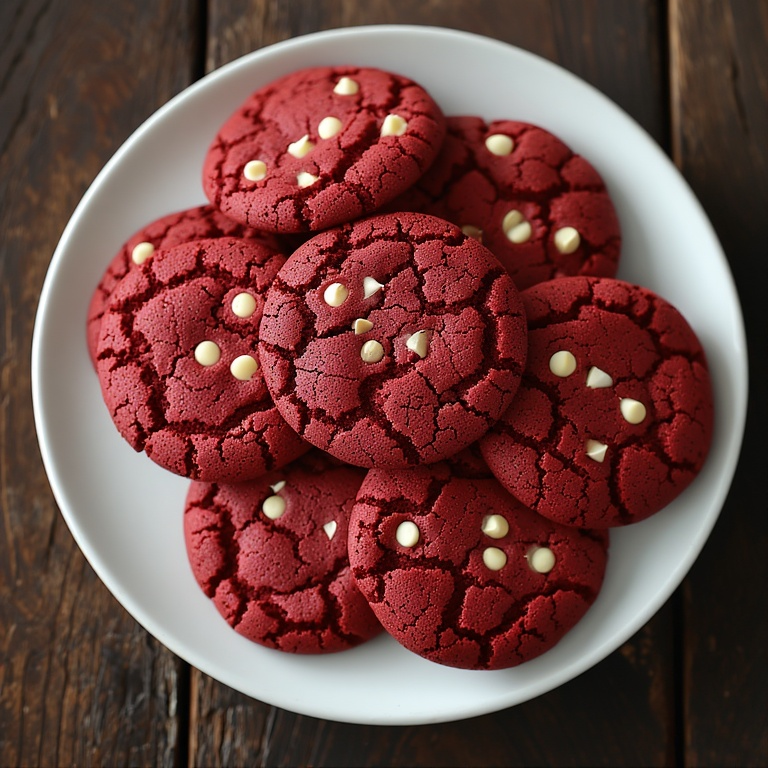
Red Velvet Cookies are a perfect blend of rich cocoa flavor, soft texture, and that signature deep red color everyone loves. These cookies bring the classic red velvet cake vibe into a handheld, bakery-style treat that feels special yet comforting. They are ideal for holidays, parties, or anytime you want to bake something that looks as good as it tastes.
What makes Red Velvet Cookies stand out is their balance of sweetness and mild chocolate flavor. They are not overly chocolatey, which allows the vanilla notes and slight tang to shine through beautifully. When baked correctly, they have crisp edges with a soft, chewy center that melts in your mouth.
Whether you are an experienced baker or just starting out, this recipe is simple to follow and very forgiving. With basic pantry ingredients and easy steps, you can create cookies that look festive, taste amazing, and impress anyone who tries them.
Why You’ll Love This Recipe
- Soft and chewy texture
- Classic red velvet flavor
- Simple pantry ingredients
- Perfect for holidays and gifting
- Beginner-friendly method
- Freezer-friendly dough
Cook Time
Prep Time: 20 minutes
Cook Time: 12 minutes
Total Time: 32 minutes
Ingredients
- All-purpose flour
- Unsweetened cocoa powder
- Baking soda
- Salt
- Unsalted butter, softened
- Granulated sugar
- Brown sugar
- Large eggs
- Vanilla extract
- Red food coloring
- White chocolate chips or chunks
- Optional powdered sugar for coating
| Best For | Spice Level | Freezer-Friendly |
|---|---|---|
| Desserts & Parties | Mild | Yes |
Step-by-Step Instructions
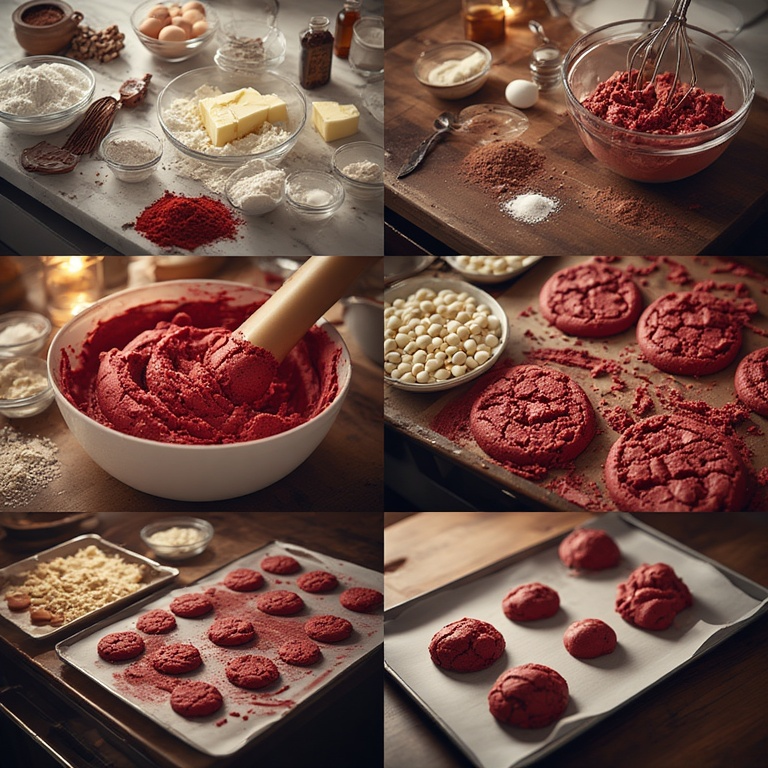
Step 1: Preheat your oven to 350°F (175°C) and line baking sheets with parchment paper. This helps prevent sticking and ensures even baking.
Step 2: In a medium bowl, whisk together all-purpose flour, cocoa powder, baking soda, and salt. Mixing the dry ingredients first helps distribute the cocoa evenly.
Step 3: In a large bowl, cream the softened butter with granulated sugar and brown sugar until light and fluffy. This step is important for achieving soft cookies.
Step 4: Add the eggs one at a time, mixing well after each addition. Stir in vanilla extract and red food coloring until the color is evenly distributed.
Step 5: Gradually add the dry ingredients into the wet mixture. Mix gently just until combined, being careful not to overmix the dough.
Step 6: Fold in the white chocolate chips using a spatula. Make sure they are evenly spread throughout the dough.
Step 7: Scoop the dough into equal-sized balls. If desired, lightly roll them in powdered sugar for a crinkled finish.
Step 8: Place the dough balls onto the prepared baking sheets, leaving space between each cookie for spreading.
Step 9: Bake for 10–12 minutes until the edges are set but the centers still look slightly soft. Do not overbake.
Step 10: Allow the cookies to cool on the baking sheet for a few minutes before transferring them to a wire rack to cool completely.
Tips & Variations
For extra chewiness, chill the dough for 30 minutes before baking. This also helps control spreading and enhances flavor. If you prefer a stronger chocolate taste, slightly increase the cocoa powder without adjusting other ingredients.
You can swap white chocolate chips for dark or milk chocolate if desired. Adding a cream cheese frosting drizzle on top can give these cookies an even more classic red velvet feel. For a festive touch, add red or white sprinkles before baking.
Servings
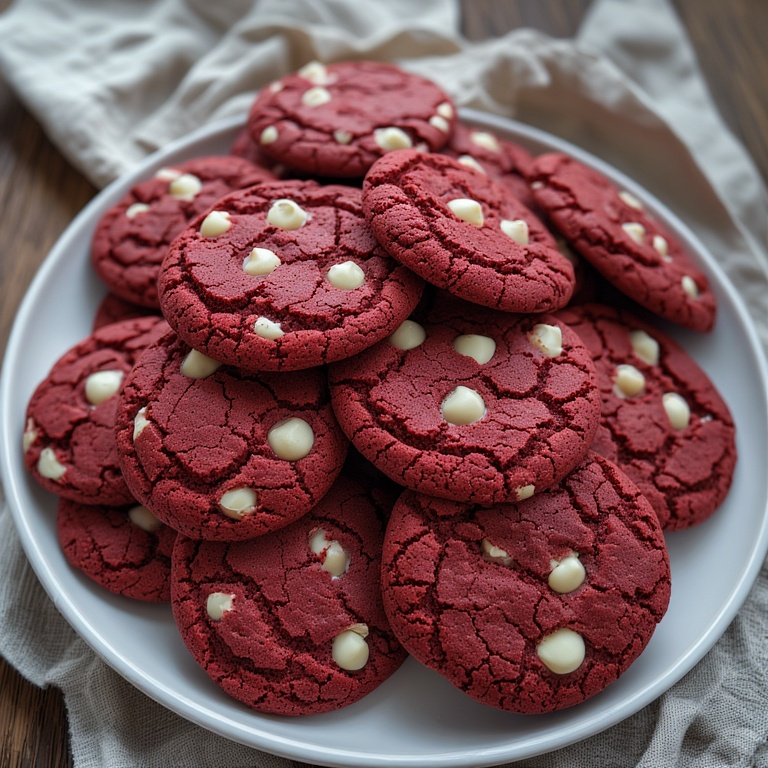
This recipe makes approximately 20 to 24 cookies, depending on the size of each dough scoop. It can easily be doubled for parties, bake sales, or holiday gifting.
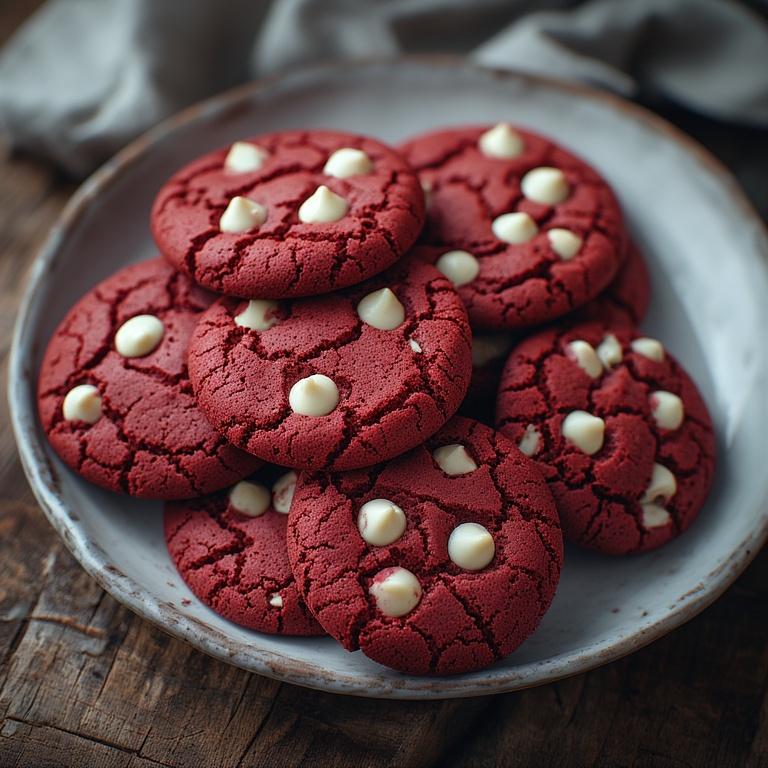
Serving Suggestions
Serve Red Velvet Cookies with a glass of cold milk, hot cocoa, or coffee for a comforting treat. They also pair wonderfully with vanilla or cream cheese ice cream for an easy dessert.
These cookies make beautiful additions to dessert platters and holiday cookie boxes. You can also sandwich them with cream cheese frosting to create red velvet cookie sandwiches for special occasions.
Why it’s Good For You
While Red Velvet Cookies are a treat, they can still be enjoyed as part of a balanced lifestyle. Cocoa powder provides antioxidants that support overall wellness. Baking at home also allows you to control ingredient quality and portion sizes.
Using real butter and eggs adds richness and satisfaction, helping you feel content with fewer cookies. Enjoying homemade desserts mindfully can support a healthier relationship with food.
Pros and Cons
| Pros | Cons |
|---|---|
| Easy to make with simple ingredients | Higher sugar content |
| Soft, chewy, and flavorful | Not suitable for low-sugar diets |
| Visually appealing and festive | Food coloring may be undesirable for some |
Nutrition Information
| Calories | Protein | Fat | Carbs | Fiber | Sodium |
|---|---|---|---|---|---|
| 210 | 3g | 10g | 28g | 1g | 160mg |
Values are approximate and based on one cookie, depending on portion size and ingredients used.
FAQs
Q: Can I make the dough ahead of time?
A: Yes, the dough can be refrigerated for up to 48 hours before baking.
Q: Can I freeze Red Velvet Cookies?
A: Yes, both baked cookies and raw dough freeze well for up to 3 months.
Q: Why are my cookies not bright red?
A: Gel food coloring gives a more vibrant red than liquid coloring.
Q: Can I make these cookies without cocoa powder?
A: Cocoa powder is essential for the classic red velvet flavor and color balance.
Q: How do I keep the cookies soft?
A: Store them in an airtight container at room temperature with a slice of bread.
Conclusion
Red Velvet Cookies are a delightful twist on a classic favorite, offering beautiful color, soft texture, and irresistible flavor. This easy recipe delivers bakery-quality results right from your kitchen. Whether for holidays, celebrations, or everyday treats, these cookies are sure to become a favorite you’ll bake again and again.